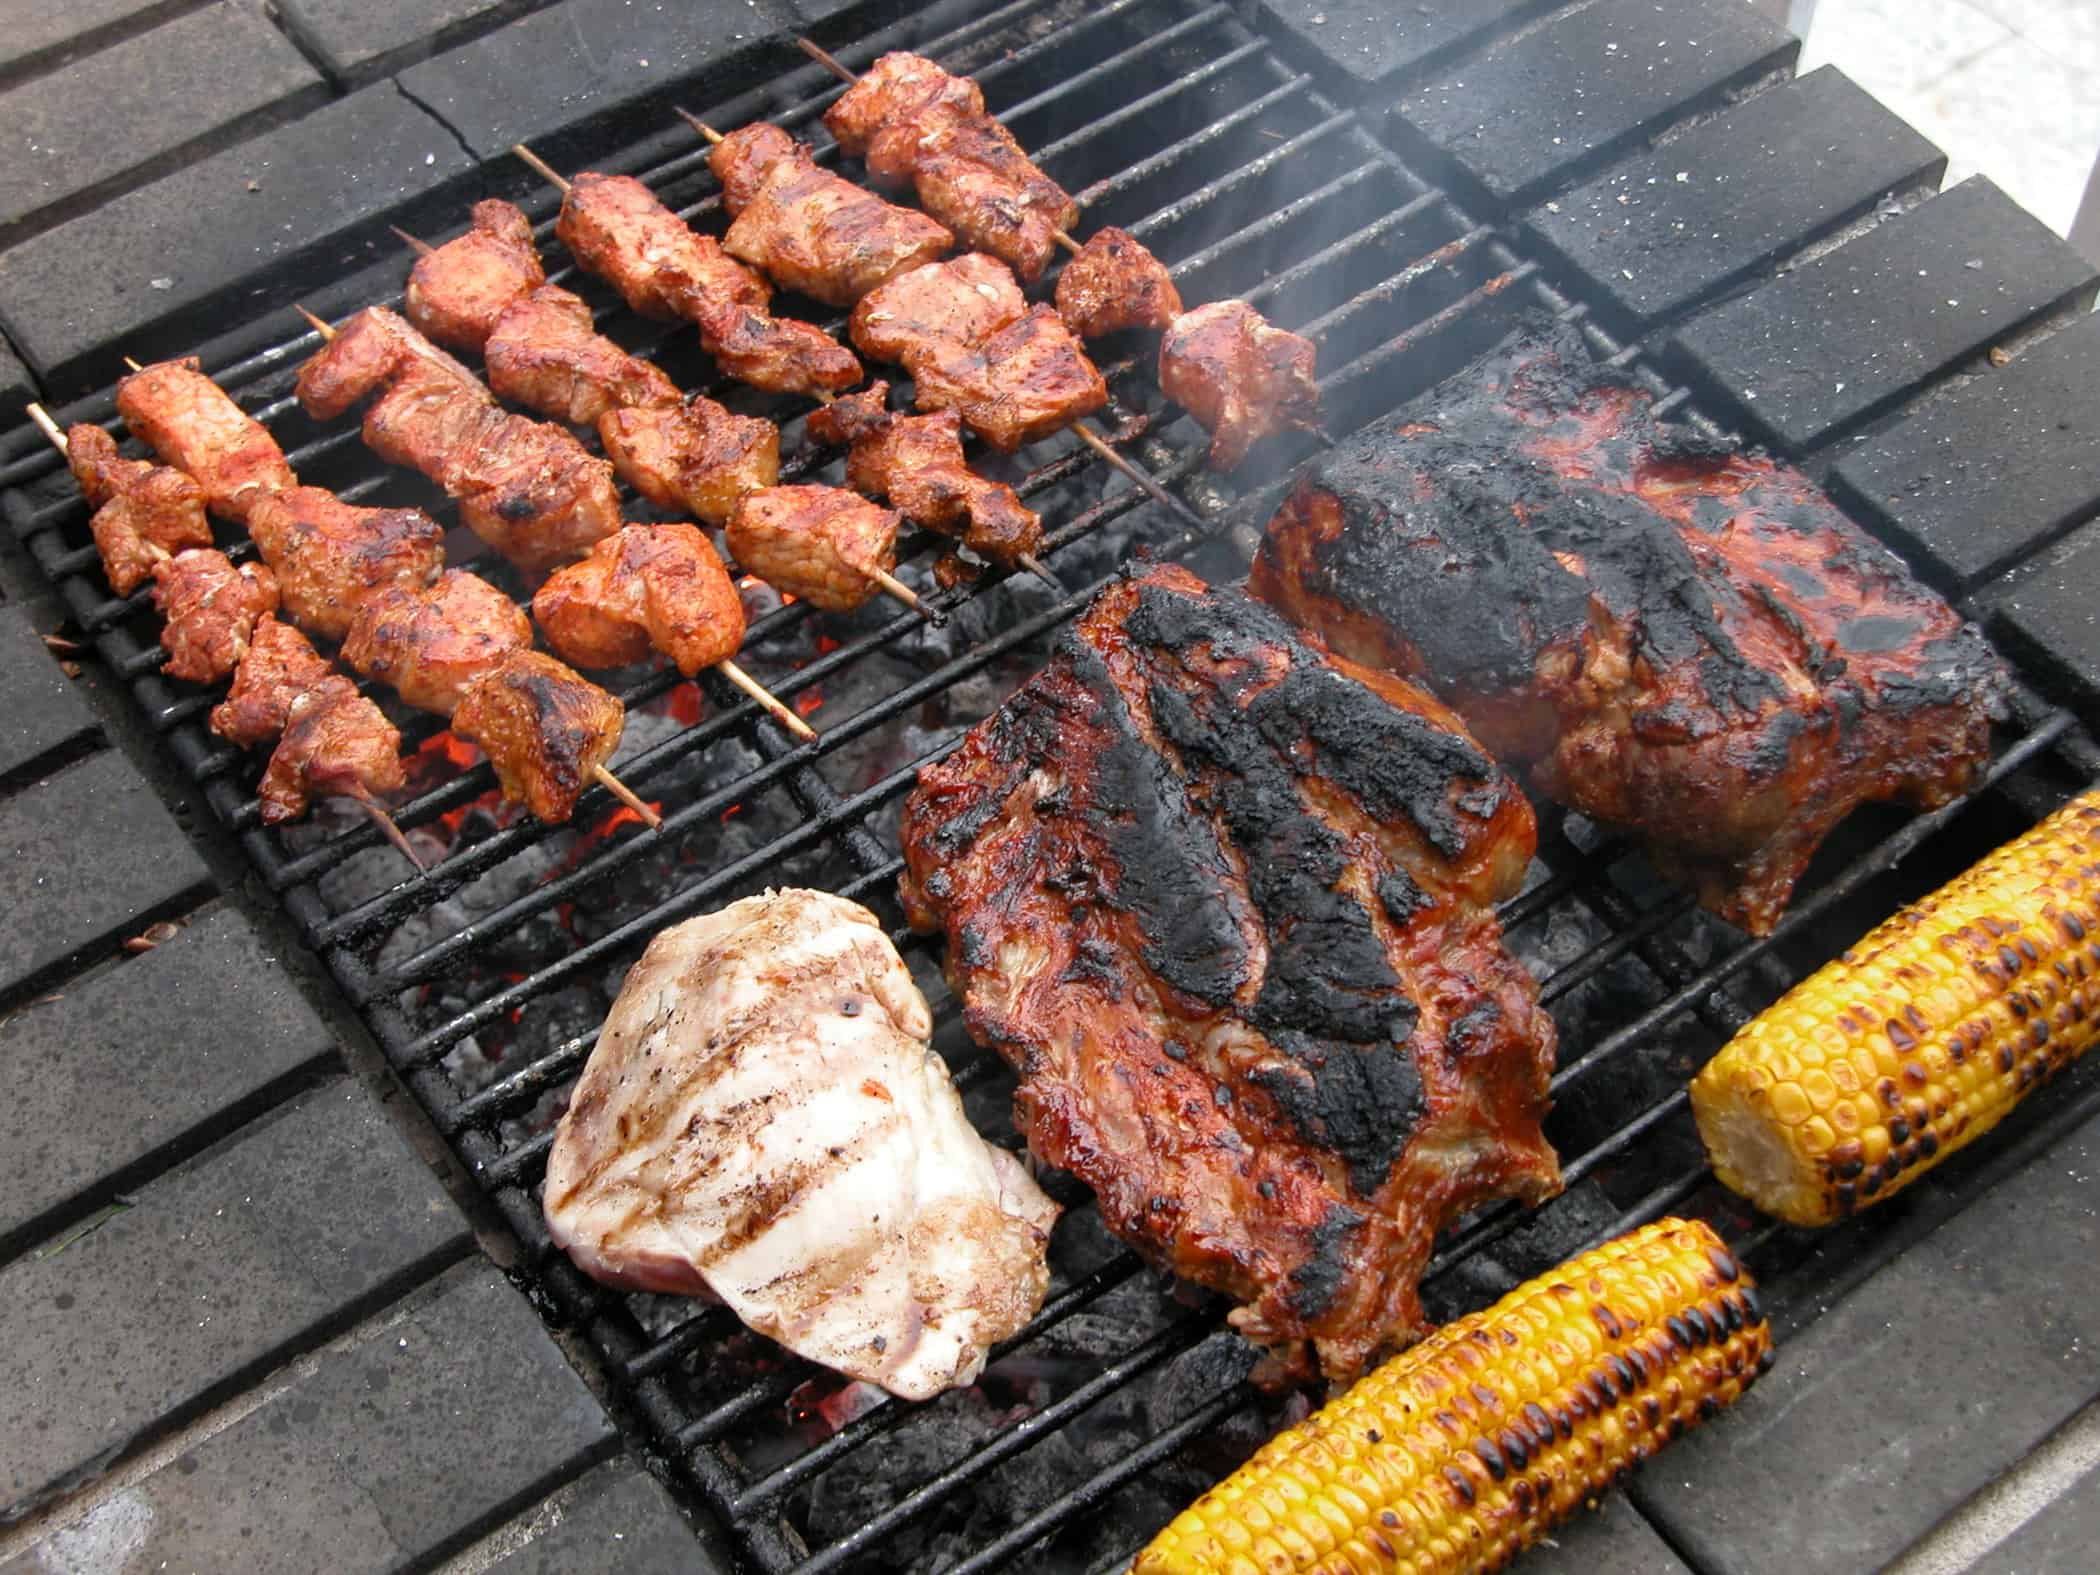
Summer holidays and grilling go hand in hand. From tried-and-true burgers, dogs, and corn on the cob to more adventurous entrées and plentiful sides, we plan on spending most of the season charring up favorites. Head into any outdoor event with your best foot forward by brushing up on some grilling basics. Whether you’re talking vegetables or dry-aged steaks, you’ll be grilling everything like a pro in no time.

1. Clean Your Grill
When your grill is hot and almost ready to cook, give it a thorough brushing with a metal-bristled brush. This will give you optimal grill marks and flavor—no one wants last week’s BBQ chicken on their grilled peaches! Before putting your food on the grill, generously grease your grate with a neutral oil with a high smoke point, like canola or grapeseed oil. You can use a silicone grill brush or tightly roll up a clean kitchen towel and lightly coat in oil. Use your tongs to rub it on the grate, being careful not to let it catch fire.
2. Choose Your Tools
Fancy grilling gadgets are rarely needed, but there are a few things to always have on hand when cooking outside: a wire-bristled grill brush, long-handled tongs, a long-handled spatula, a silicone grill brush (for basting), a clean kitchen towel, a clean cutting board, and a spray bottle filled with water in case of flare-ups. If you’re grilling up a quality bone-in steak or just a few burgers, consider bringing your cast-iron skillet out to the grill. Set the skillet directly on the grate until it’s nice and hot, then grill your meat in the dry pan. The flat, even surface gives you a better char than the grate, but your food still gets that smoky grill flavor.
3. Create Heat Zones
Novice grillers tend to turn up all of the burners on the grill as high as they can go and cook everything on the hottest heat. While the hot-and-fast method works for some foods (such as fruits or squid), we typically set up two “heat zones” for almost everything else. For thick bone-in pork chops, lamb, and even burgers, grill them on the hot side until you get the desired grill marks, then move them over to the cooler side to gently cook until perfectly tender on the inside. To set up heat zones on a charcoal grill, heat your coals until white-hot, then carefully push them all to one side of the grill.
4. Keep the Grill Closed
We’re all tempted to open the grill and see how our kebabs and chicken are coming along, but every time you open the lid, you lose heat. Focus on timing your grilled foods and then trust those times, opening the lid only when it’s time to flip or you think your food is done.
5. Don’t Press Your Meat
Whatever you do, do not press on your meat—especially burgers—with a spatula while cooking. Many do this because they believe it helps them get a better sear, but what you are actually doing is pressing out all of the juices, making for dry and flavorless meat later. If you’re concerned about getting that perfect crust, try using a cast-iron skillet on the grill (see tip #2 above).
6. Grill Vegetables Dry
To let the natural sugars in your vegetables char and develop flavor, grill them dry on your grate. By tossing vegetables with oil before grilling, you run the risk of the oil burning and giving your food a bitter, rancid flavor. Instead, drizzle veggies with a little olive oil and a sprinkle of flaky sea salt after they come off the grill.
7. Let It Rest
This might be the most important, but often the hardest, step to follow. We’re often inclined to cut into our grilled steaks or sausages the moment they come off the grill, but it’s essential to let your meat take a quick nap. When the meat comes off the grill, the juices are all near the surface, but letting your meat rest for even 10 minutes gives those flavorful juices time to redistribute. Otherwise, they’ll all leak out the moment you slice into your food, giving you tough, dry meat.


Leave a Reply