How’s this for an eco-friendly activity on Earth Day! These DIY ideas for wine bottle candles, bird feeders and antique teacup candles are super cute. We can all do our part to re-purpose, re-use and recycle materials from everyday living–and get creative in the process!
If you’re like me, an empty wine bottle around the house isn’t hard to come by… 😉
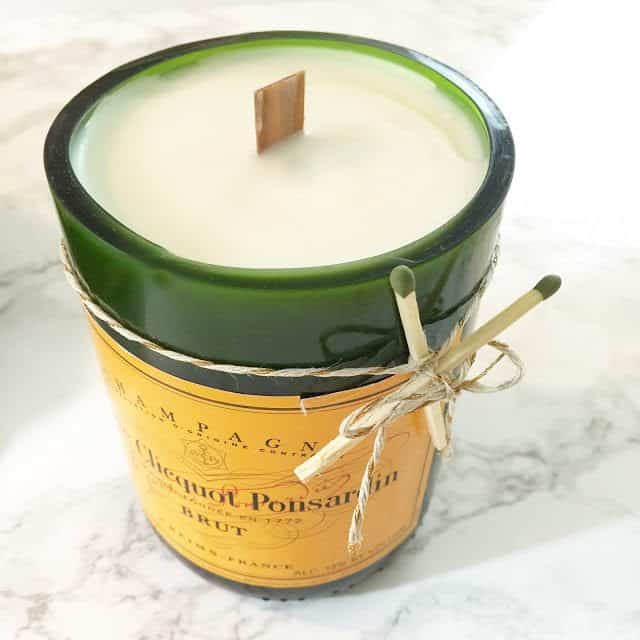
Wine Bottle Candle
Courtesy of Lisa Loves John
- glass scorer (to cut bottle)
- tape (washi, painters, electrical)
- rubber gloves
- sandpaper
- wooden wick
- hot glue gun
- soy wax
- candle fragrance (optional)
To cut the bottle, all you need is a glass scorer. Begin by using tape to mark off where you want the bottle to cut. Next, use the scorer and score the bottle where you want it to cut; as tempting as it is, do not go over your score mark – it should only leave a faint line!
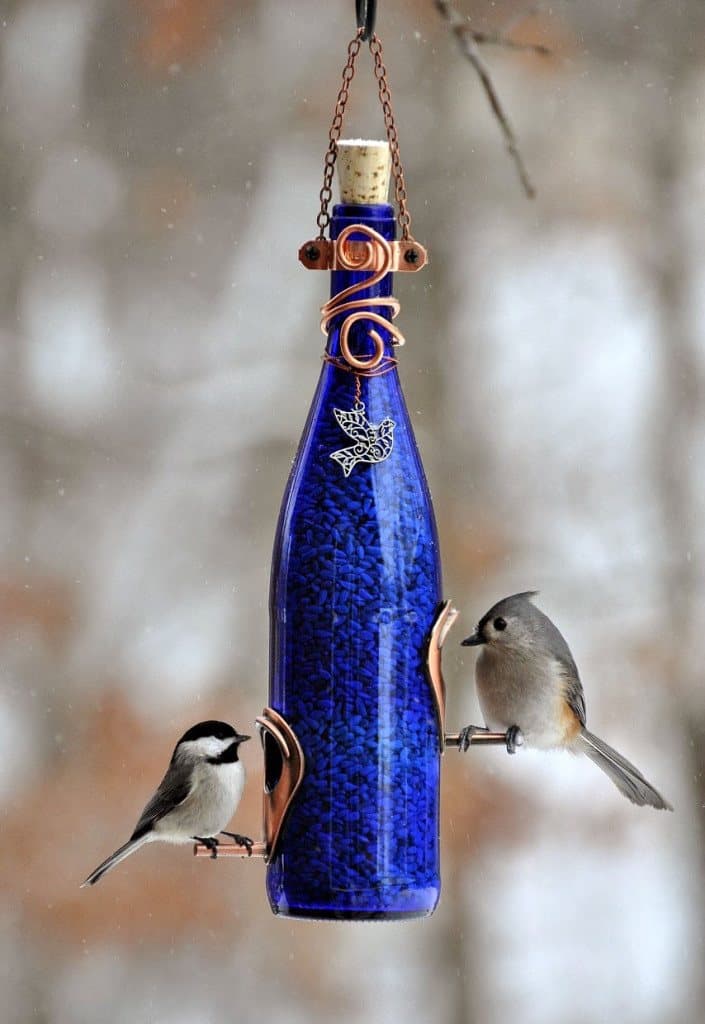
Wine Bottle Bird Feeders
Courtesy of Rebecca’s Bird Gardens
Step 1: Gather your supplies
- Recycled wine bottle and cork
- Feeding ports
- Diamond drill bit(s) – Must be the diameter of the feeding ports you use. Some ports have 2 holes that must be drilled in the bottle for the port to fit.
- Drill press
- Gorilla Epoxy
- Goo Gone
- Copper colored chain
- #6 32 x 1/2″ bolts and nuts
- 8 Gauge copper wire
- 1/2″ Copper clamps
- 20 Gauge copper wire
- Decorative accents – pendant, charm, etc…
Wire cutter, needle nose pliers, screw driver
Step 2: Drilling the holes
Mark the location of the hole for the feeder port. Secure the bottle on the drill press and slowly start drilling the hole with the diamond drill bit. Stop frequently and spray the bit with water to keep it from over heating. Clean all glass residues from the bottle and allow it to dry.
Step 3: Attach the feeder ports
Secure the feeder ports to the bottle using the Gorilla brand epoxy and allow this to dry over night. Goo Gone works well to remove any left over mess of epoxy.
Step 4: Make the hanger
Bend the 1/2″ copper clamps to fit around the neck of the wine bottle. Measure the chain to the desired length and cut with wire cutters. Position the chain inside the clamp and use the small bolts and nuts to secure the clamp and chain to the bottle.
Step 5: Decorative accents
Use needle nose pliers to make a small loop in the 8 gauge copper wire. (Also use a cloth around the teeth of the pliers to prevent scratching the copper.) Bend and twist the wire around the neck of the bottle and end with another loop. With the smaller 20 gauge copper wire, add a decorative accent (pendant, charm, etc) to the bottle.
Step 6: Add birdseed
Cork the bottle – Watch the action!
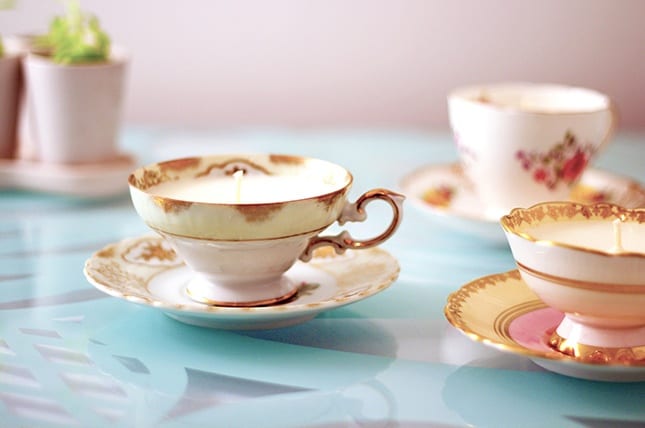
Teacup Candles
Courtesy of Eileen at Yes Missy
- vintage tea cups
- candle wax flakes
- candle wicks
- wooden skewers
- a stove
- a saucepan
- a glass container, like a pyrex or an old sauce jar
- tape
- scissors
Optional:
- fragrance oil scents
- coloring
1. You’ll want to start off by cleaning your teacups. Just your regular dish soap is great and make sure you dry them thoroughly when you’re done. You don’t want any water in your teacups when you pour in your wax. Wax and water do not mix.
2. Measure out the amount of candle wax flakes you’ll need. For each teacup you’ll need twice the amount of wax flakes to fill it.
3. Set up the candle wicks in your teacups, you’ll want them to lay flat against the bottom. Then use your chopsticks/skewers/pencils to hold them up and tape the ends of the chopsticks so they stay put.
4. Fill a sauce pan half full of water. Place the measured amount of wax flakes in the glass container. Then place the glass container in the sauce pan. Turn your stove on to medium-high. I found that the wax flakes I used started melting slighting before a full boil. This may vary for you depending on the wax flakes you have. As the wax melts it will turn clear.
5. Once all your wax flakes have melted, carefully remove your glass container from the sauce pan. This is the time to add your coloring and scents if you have chosen to use them.
6. Carefully pour the wax into your teacups and fill until they are about half an inch or 1.5 cm from the top.
7. Let the wax cool and set for a few hours. I would let them set at room temperature to prevent any cracking from cooling too quickly.
8. Once your candles are set, trim your wicks to about 1cm long. Light your candle and enjoy.
For more delicious recipes and fun food and wine pairing ideas, subscribe to my newsletter.


Leave a Reply